How to print from your phone at a GotPrinter outlet
Scan, choose your pages, collect. A two-minute guide for your first print, with no app and no sign-up.
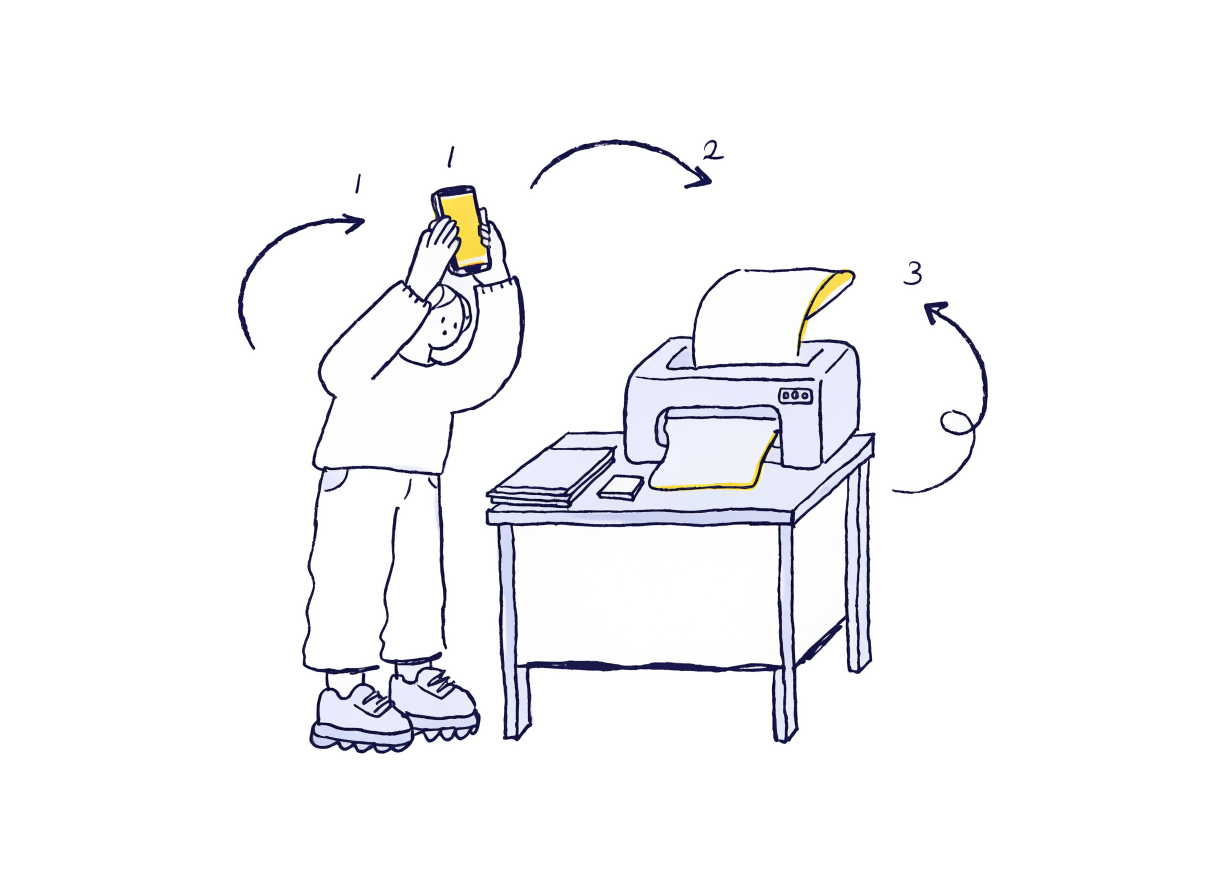
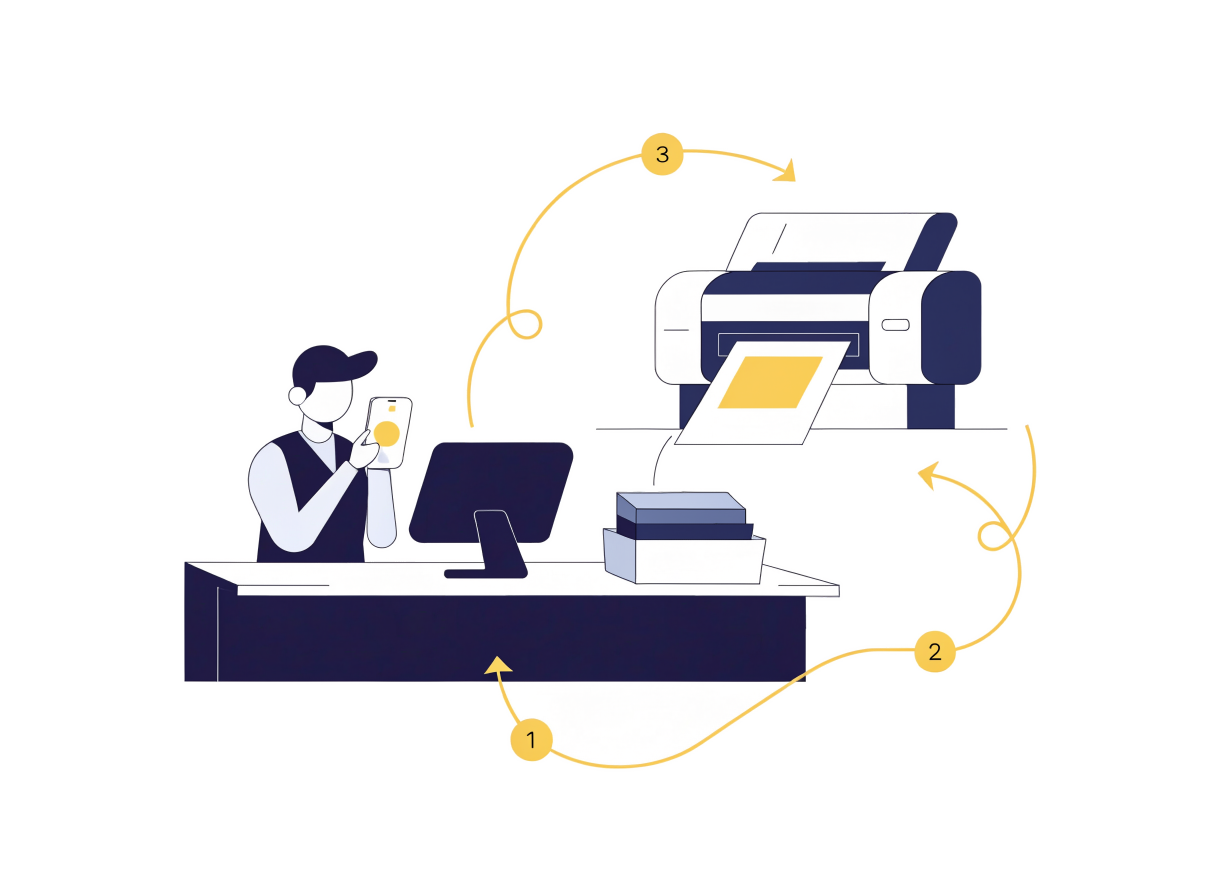
Printing an assignment shouldn’t mean emailing a stranger or hunting for a USB stick. With GotPrinter, the file goes from your phone straight to the outlet’s printer. Here’s the whole thing, start to finish.
1. Open the outlet’s page
Every GotPrinter outlet has a poster on the counter with a QR code and a short outlet code, like cityprint.
- Scan the QR code with your phone’s camera, or
- type the code at gotprinter.com/connect, or
- find an outlet near you on the map.
The outlet’s page opens in your browser. There’s nothing to install and no account to make.
2. Choose what to print
Add your file. You can send PDFs and photos (JPG, PNG, GIF or BMP), up to 50 MB each.
Then set it up the way you want:
- which pages
- black and white or colour
- number of copies
- one-sided or two-sided
The price is the outlet’s own, and you see the total before you send. No surprises at the counter.
3. Watch the queue, then collect
After you send, your phone shows the outlet’s queue with your job highlighted, so you can see exactly where it is: uploading, waiting, printing, done.
You also get a pickup token. When your job has printed, show the token at the counter and take your pages.
Good to know: your phone keeps a copy until the job has printed. If the outlet’s computer restarts mid-job, your phone sends the file again, so you don’t have to start over.
That’s it
Three steps, no app. Next time you have a deadline, find the nearest outlet and send it from wherever you are.